Showing posts with label diecutting. Show all posts

Thursday, March 20, 2025

Happy Spring

Hi everyone,

Well today is the first day of Spring and I have a couple of cards to share with you using the Farm Life stamp set from the new Rain or Shine release from https://www.simonsaysstamp.com/collections/rain-or-shine

For my first card I stamped the barn and coloured with Copic markers. 
Masked off the barn and then blended the background with Distress inks.

I then stamped all the cute little farm animals and coloured with Copics.
Added a grass die cut border and foam mounted the animals.
The background for my scene was created with a stripe stencil and Distress inks.


For my second card I used a cloud stencil and Distress ink to create the background.
I embossed the piece with a large postage die.

I stamped the cute ducks and used Distress watercolour pencils to colour them in and also the background of each.

I used a postage die set to cut them out.

Stamped the sentiment and embossed with white embossing powder.


Well that’s it for my cards today and thanks so much for stopping by 🙏🏻

Products used:

Simon Says Stamp Farm Life stamp set
SSS Postage Stamps dies 1230sd
SSS Stitched Rectangles 
SSS Diagonal Stripe stencil
Hero Arts Nesting Postage Stamps Infinity die
Lawn Fawn Grassy Border die
Lawn Fawn Cloudy stencil 
Distress inks - Tumbled Glass, Twisted Citron 
Distress watercolour pencils
Copic markers


Friday, July 12, 2024

The Count loves the beach - Everyday

Hi everyone,

I made this fun tag of the Count who loves going to the beach.


I started by stamping my background with Versamark embossing ink and then adding white embossing powder. After that was heat set I blended on my colours of Distress inks.


I die cut the count in different shades of beige card stock.


I added different patterned papers for his swim suit and cape/towel.


I die cut a ball from red and white card stock and added a fence on each side of the tag.


I die cut a banner and the words were die cut 3 times and glued together.

Below is a list of products used and for what part of the tag they were used on.

Well that’s it for my tag today and thanks so much for stopping by 🙏🏻❤️

Products used:
Bubbles stamp CMS449
The Count 665557
Speckles stencil THS071
Vault World Travel 666606 - words 
Bunny Games 665850 - banner, flowers
Decorative Trims 665435 - brick border with Idea-ology Halloween paper and etcetera scallop trim piece
Gladys 665851 - feet and hat feather
Tailored 666289 - bow tie 
Harvey 666066 - moustache 
The Gent 665202 - hat
Vault Series Halloween 665563 - fence
Modern Festive 666069 - ball and SSS circle die
Distress ink - Tumbled Glass, Salty Ocean, Antique Linen, Scattered Straw
Lawn Fawn papers - towel and bathing suit
White embossing powder 


Sunday, December 27, 2020

I think you’re wonderful

 Hi everyone,

Well Christmas is behind us and we find ourselves back into a 3 week lockdown again with only stores deemed essential to be open. More time for crafting for me not that I spend anytime in stores. All the Christmas gifts were purchased online this year and so are my groceries.

I do have a fun and easy card to share using a Concord & 9th Turnabout stamp set.


I started by stamping the berries using 4 different colours of pink/red Altenew mini ink cubes from lightest ink to the darkest rotating the card at each turn. Then I went on to stamping the holly leaves starting with the lightest green colour first and ending by the darkest green ink last.

When all the stamping was done I stamped the sentiment from the set and stamped in the middle of my card with black ink.

Well that’s it for my card and thanks so much for stopping by 🙏🏻

Supplies:
Concord & 9th Holly Berries Turnabout stamp set
Altenew ink cubes - Frosty Pink, Coral Berry, Ruby Red, Grapevine
Simon Says Stamp Jellybean ink
Distress inks - Shabby Shutters, Peeled Paint, Mowed Lawn


Friday, December 04, 2020

Joy

 Hi everyone,

Today I have a card to share using an old Hero Arts wood block Christmas tree stamp that I have.


I started by stamping the image with green ink and heat embossing with clear embossing powder.
I used a stitched rectangle die to cut my panel.

The letters were die cut from some striped paper. 

I layered my stamped panel onto a piece of patterned cardstock and foam mounted the letters at the bottom.

I added a little silver star embellishment to the top of the tree and that completes my card.

Thanks so much for stopping by. 

Supplies:

Hero Arts tree stamp - H5629
Simon Says Stamp Stitched Rectangle die set
Lawn Fawn Oliver's Stitched ABCs die set
Simon Says Stamp Lucky mini ink cube
Lawn Fawn Let It Shine 6 x 6 paper pack


Monday, October 12, 2020

Warm Wishes

 Hi everyone,

Well it is Thanksgiving Day here in Canada and I want to wish everyone a very Happy Day. As we are in the Red zone here in Montreal and cannot celebrate together we can always be together in our hearts and minds ❤️

Anyways I have a card to share wishing everyone Well Wishes.


I started by creating my background with my stencil and ink blending 3 different colours of Distress Oxide inks.

I die cut the large word die from brown card stock which is the same as my card base and the other sentiment was stamped with Hero Arts brown ink.

I adhered the stencilled panel to my card and the large word die to the centre of my panel. I added some confetti pieces from Simon Says Stamp Hawaiian Sunset blend.

Also entering this in the current Simon Says Stamp IG challenge.

Well that’s it for my card and thanks so much for stopping by.

Supplies:

Simon Says Stamp Floating Leaves stencil
Lawn Fawn Stitched Slimline die set
Hello Bluebird Warm Wishes die set
Honey Bee Sending you Sentiments stamp set
Hero Arts Cup O’ Joe shadow ink
Distress oxide inks- Candied Apple, Spiced Marmalade, Fossilized Amber
Simon Says Stamp Hawaiian Sunset confetti


Monday, August 31, 2020

Aloha Missing your smile

Hi everyone,

Today I have a card to share using some Alcohol Pearl inks and an Alcohol Lift-ink pad.
When I made this card I had my daughter in mind who lives in HawaiiI and I thought all the different colours were a nice mix.

I started by blending 3 different colours of Alcohol Pearl inks onto a piece of Yupo paper and achieved such an array of  beautiful colours. Once dry I used my Alcohol Life-ink pad with a large MFT background stamp to stamp directly over my blended background. The design is very subtle in the background.


I then die cut the panel using once of the larger Inifinity Hero Arts Postage Stamp dies. I die cut the Aloha several times with white cardstock and glued them altogether to create a thick sentiment. The other sentiment was cut from a Paper Roses sentiment paper pack.

I adhered the whole panel to my card base with foam tape.

Well that's it for this card and thanks so much for stopping.

Supplies:

Alcohol Pearls - Intrigue, Sublime and Tranquil
Alcohol Lift - ink
My Favorite Things Floral Fantasy stamp
Hero Arts Inifinity Postage Stamp die set 
Lawn Fawn Aloha die
Paper Roses sentiment pack
Yupo paper


Sunday, August 23, 2020

Bright side

 Hi everyone,

Today I have a card to share that I created using a stencil from Honey Bee and some Distress Oxide inks.

I have made a few cards lately but haven't posted them as I have been going for super long power walks, Pilates and Yoga outside and generally enjoying the beautiful summer weather without actually spending time with anyone. Oh, and throwing in a couple of Zumba online classes each week. 

Keeping the social distancing thing going as long as we need to but I must admit I do miss my gym friends but don't feel comfortable going back to the gym just yet.

Anyways, here's my card.


I first die cut my panel using a stitched rectangle die from Simon Says Stamp. Which by the way is one of my go to dies for cardmaking. I use it a lot.
I taped down my stencil to my panel and then started to blend each stripe with a different colour of DO ink using my blending brushes. Distress Oxides blend so beautifully that it makes the stripes look as though they were painted onto my panel.

Once I was finished blending I adhered my panel to my card base using some foam tape.

The sentiment is from Paper Roses which I cut to size and foam mounted to my panel as well.

This was such a quick and easy card to make. 

Well that's it for this card and thanks so much for stopping by.

Supplies:

Honey Bee Watercolor Lines stencil
Simon Says Stamp Stitched Rectangle die
Paper Roses Sentiment sheets
Distress Oxide inks - Squeezed Lemonade, Spiced Marmalade, Candied Apple, 
Picked Raspberry and Wilted Violet

Tuesday, June 16, 2020

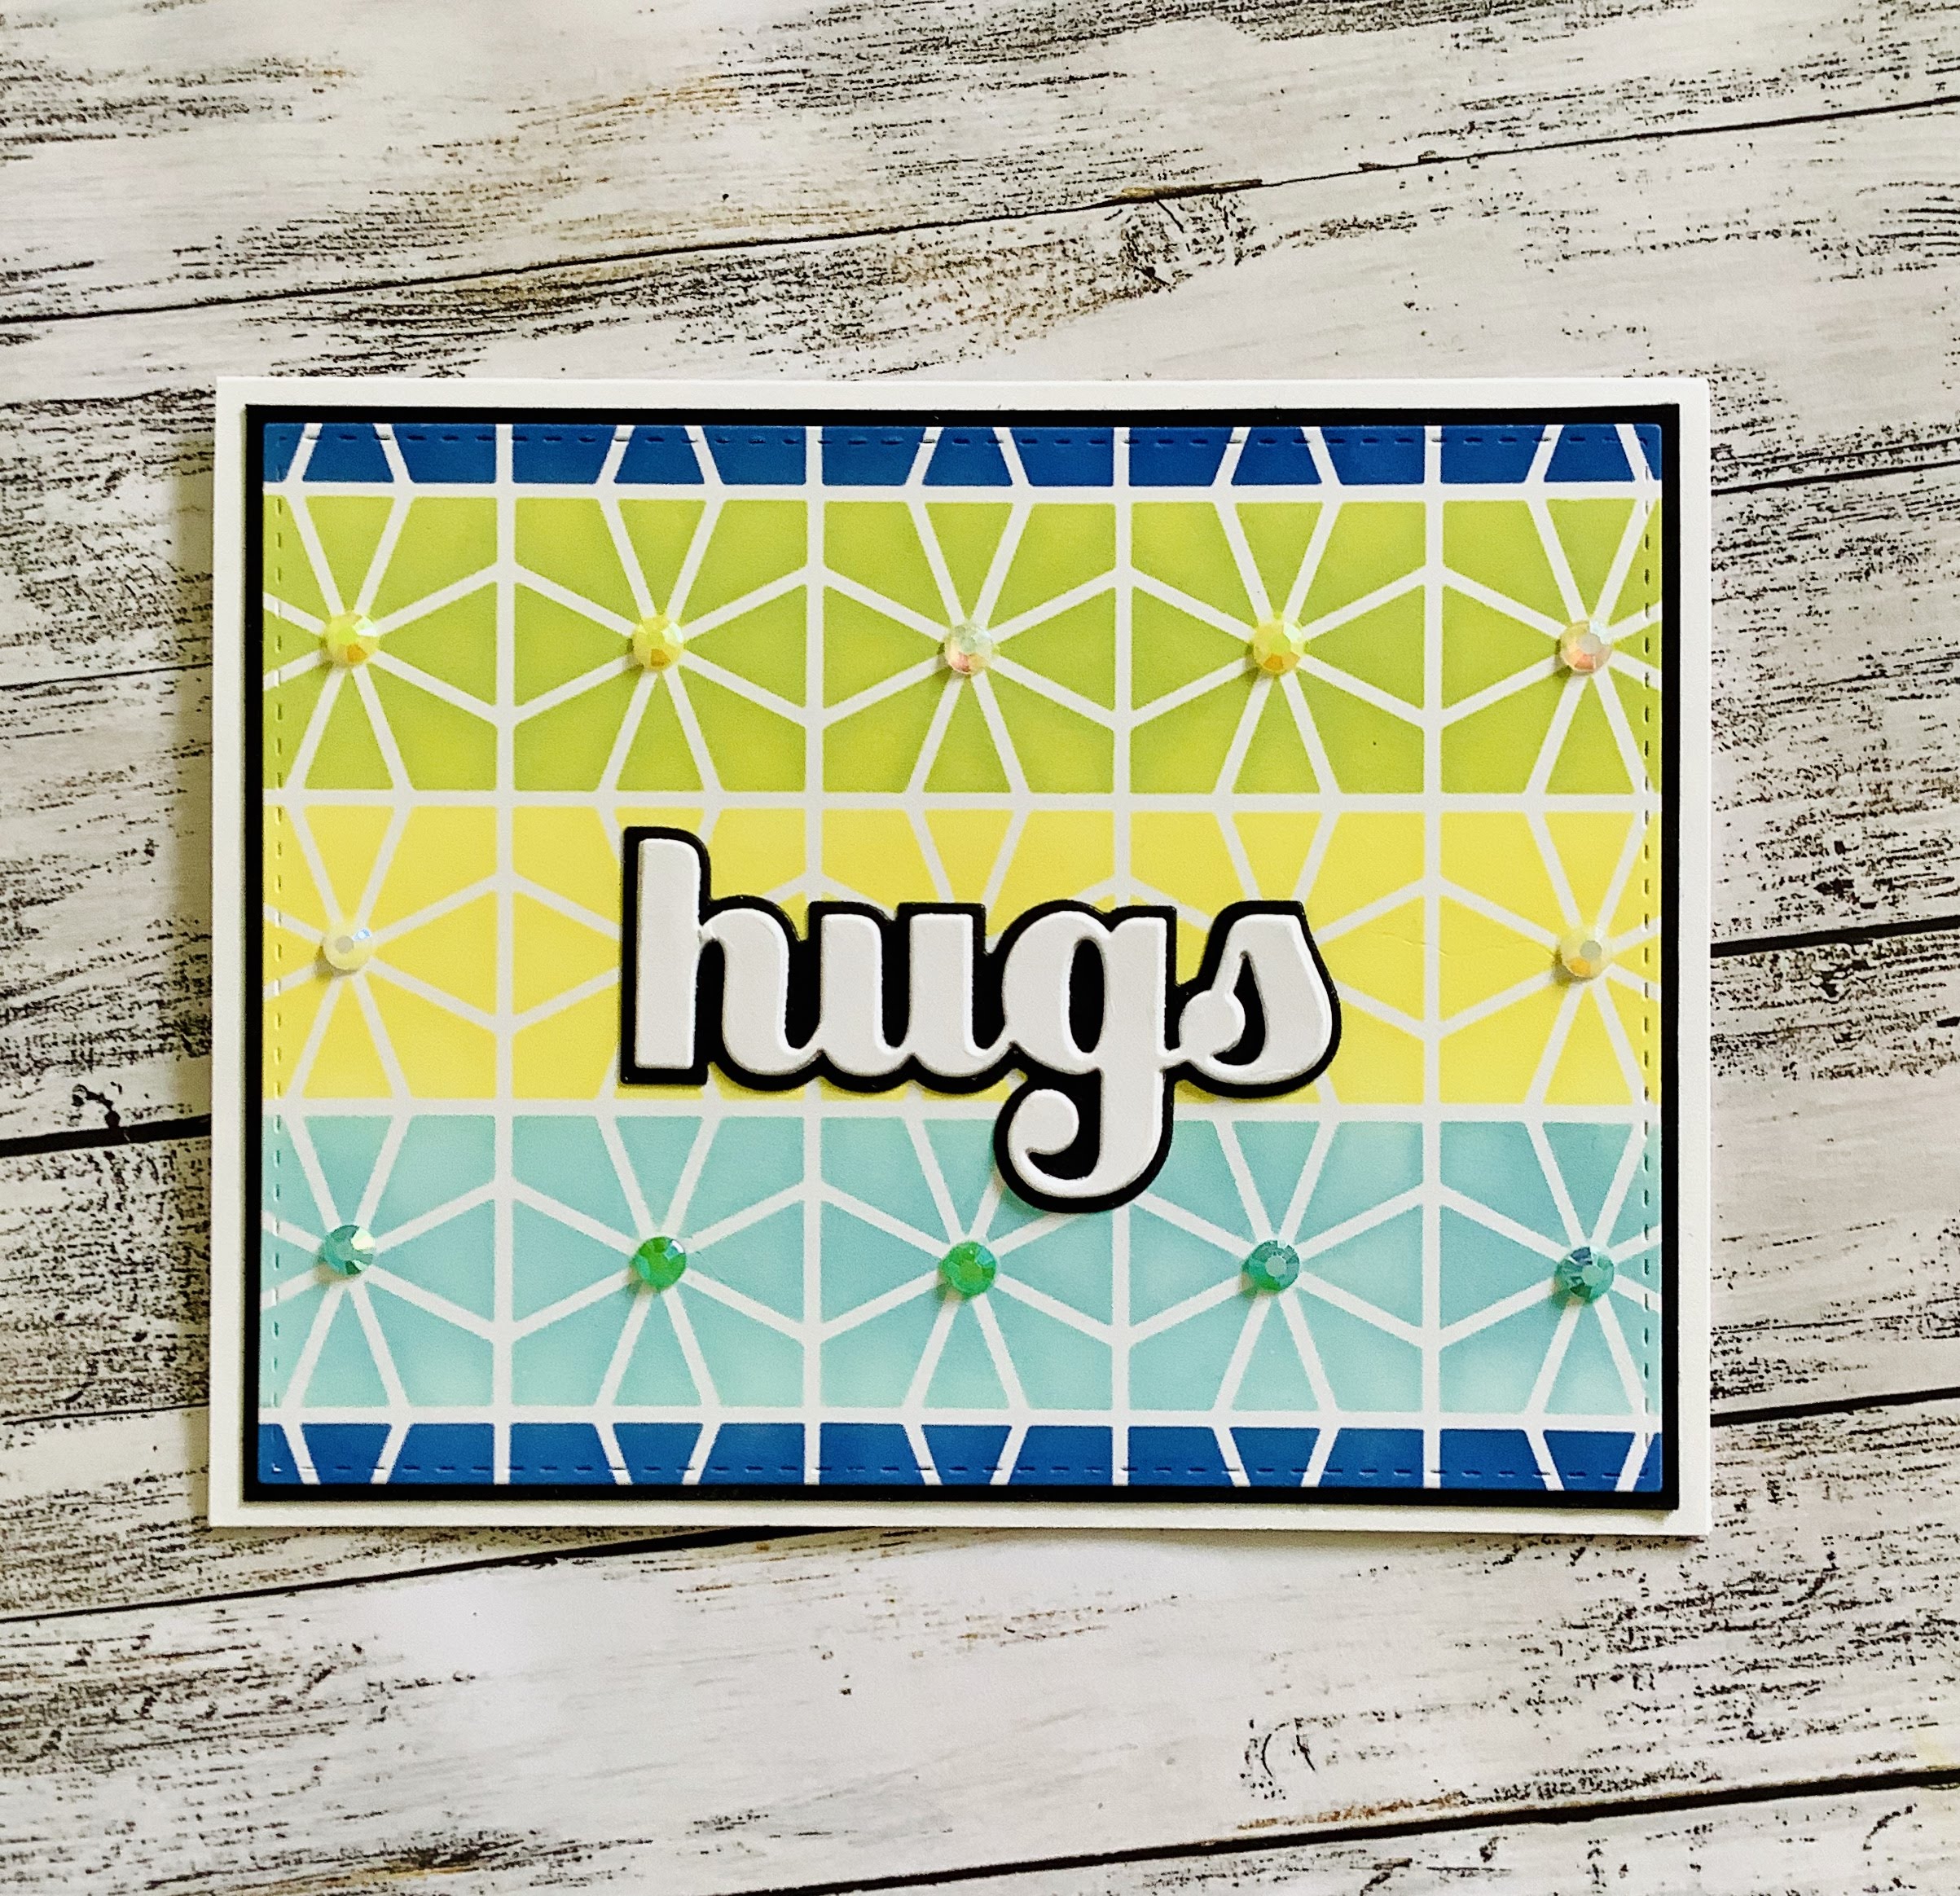
Big hugs

Hi everyone,

Today I have a card to share using a stencil and some ink blending.


I started by creating my background using a stencil from Neat and Tangled. I masked off a section at a time of the stencil and ink blended the colour using 4 different colours of Distress inks.

I die cut the panel using a large stitched rectangle die from Simon Says Stamp.

I layered the panel onto a piece of black cardstock slightly bigger than my finished panel.

The sentiment was die cut from both white and black cardstock pieces.

For the final touch I added a rhinestone gem in the centre of each square.

Well that's it for my card and thanks so much for stopping by.

Supplies:

Neat & Tangled Geometric Circles stencil
Simon Says Stamp Stitched Rectangle die set
Birch Press Design Big Hugs Sugar Script die set
Distress Oxide inks - Tumbled Glass, Squeezed Lemonade, Twisted Citron, Blueprint Sketch
Hai Rainbow Rhinestones
Taylored Expressions ink blending brushes


Sunday, June 14, 2020

Neon Hello

Hi everyone,

Today I have a card to share that I will be entering into Simon Says Stamp current "Anything Goes" theme on Flickr. You can find it here 


I started by colour blending 3 different colours of Hero Arts Neon ink cubes.

It is a bit tricky to blend over this stencil because the lines are very thin but I think it all worked out.

Once I was finished with the blending I die cut the hello 3 times with black cardstock. I applied watermark ink to the top layer of the sentiment and added some clear embossing powder so I could have a shiny look to my sentiment.

I added some splatters with black paint and then added the Hello to the centre of my panel.

Onto the card base I added 2 strips of neon washi tape at the top and bottom and then adhered my panel to the card.

Well that's it for my card which was quite simple to make.

Thanks so much for stopping by.

Supplies:

Simon Says Stamp Flora stencil
Simon Says Stamp Painted Hello die
Hero Arts Neon Green, Neon Pink and Neon Orange ink cubes
Gansai Tambi black paint
Washi tape

Wednesday, May 13, 2020

Floral hugs

Hi everyone,

Today I have a card to share that using a watercolour technique and some distress inks.


I created my background first and when it was dry I stamped the flower image from Altenew several times over the background. I then die cut the panel with 2 different sizes of Simon Says Stamp rectangle dies. I adhered the large panel to my card base and using the 2 rectangle dies cut a frame from some black cardstock.

I added the frame over the panel and then adhered the smaller panel over top with some foam adhesive. I stamped the sentiment and heat embossed with white embossing powder.

Added some pearl accents and that completes my card.

Thanks so much for stopping by.

Supplies:

Altenew Beautiful Day stamp set
Simon Says Stamp Stitched Rectangle die set
Distress Oxide inks - Squeezed Lemonade, Picked Raspberry, Spiced Marmalade
Pearl gemstones

Rainbow cards

Hi everyone,

Today I have a couple of cards to share with a rainbow theme. As rainbows are everywhere these days I thought I would make a few different cards.
 
I started by creating my rainbow using a circle die from Spellbinders and different colours of cardstock. The white base of my card was die cut using a stitched rectangle die.
The sentiment was stamped with black ink and I added a little glitter heart where there was an open heart image.


The second card was created by using a stencil and dry embossing to create my background piece. The rainbow pieces were created using an Infinity die set from Hero Arts.

I layered the coloured pieces together and then used a white piece for the sentiment in the middle. I die cut several pieces of the white centrepiece and adhered them together so that they would create a nice raised image. The sentiment was stamped with black ink and some clear sequins were added for a little accents.


Well that's it for both of my cards and thanks so much for stopping by. I will be adding a couple more rainbow cards soon so stay tuned.

Supplies used:

Spellbinders Standard Circles large die set
Hero Arts Infinity Rounded Rectangles die set 
Sunny Studio Stamps Happy Home stamp set
Mama Elephant Up and Away stamp set
Honey Bee Fluttering Hearts stencil set
Bazzil card stock