Showing posts with label Stamper’s Anonymous. Show all posts

Monday, October 24, 2022

Believe

 Hi everyone,

Today I have a card to share using the Simon Says Stamptember collaboration stamp set from Stamper’s Annoymous and Tim Holtz.

I had been away on vacation when it arrived so kind of tardy in using it.


I started by stamping the image with black ink and colouring with Copics. 
I cut the finished piece to panel to 4.5” x 4” panel.
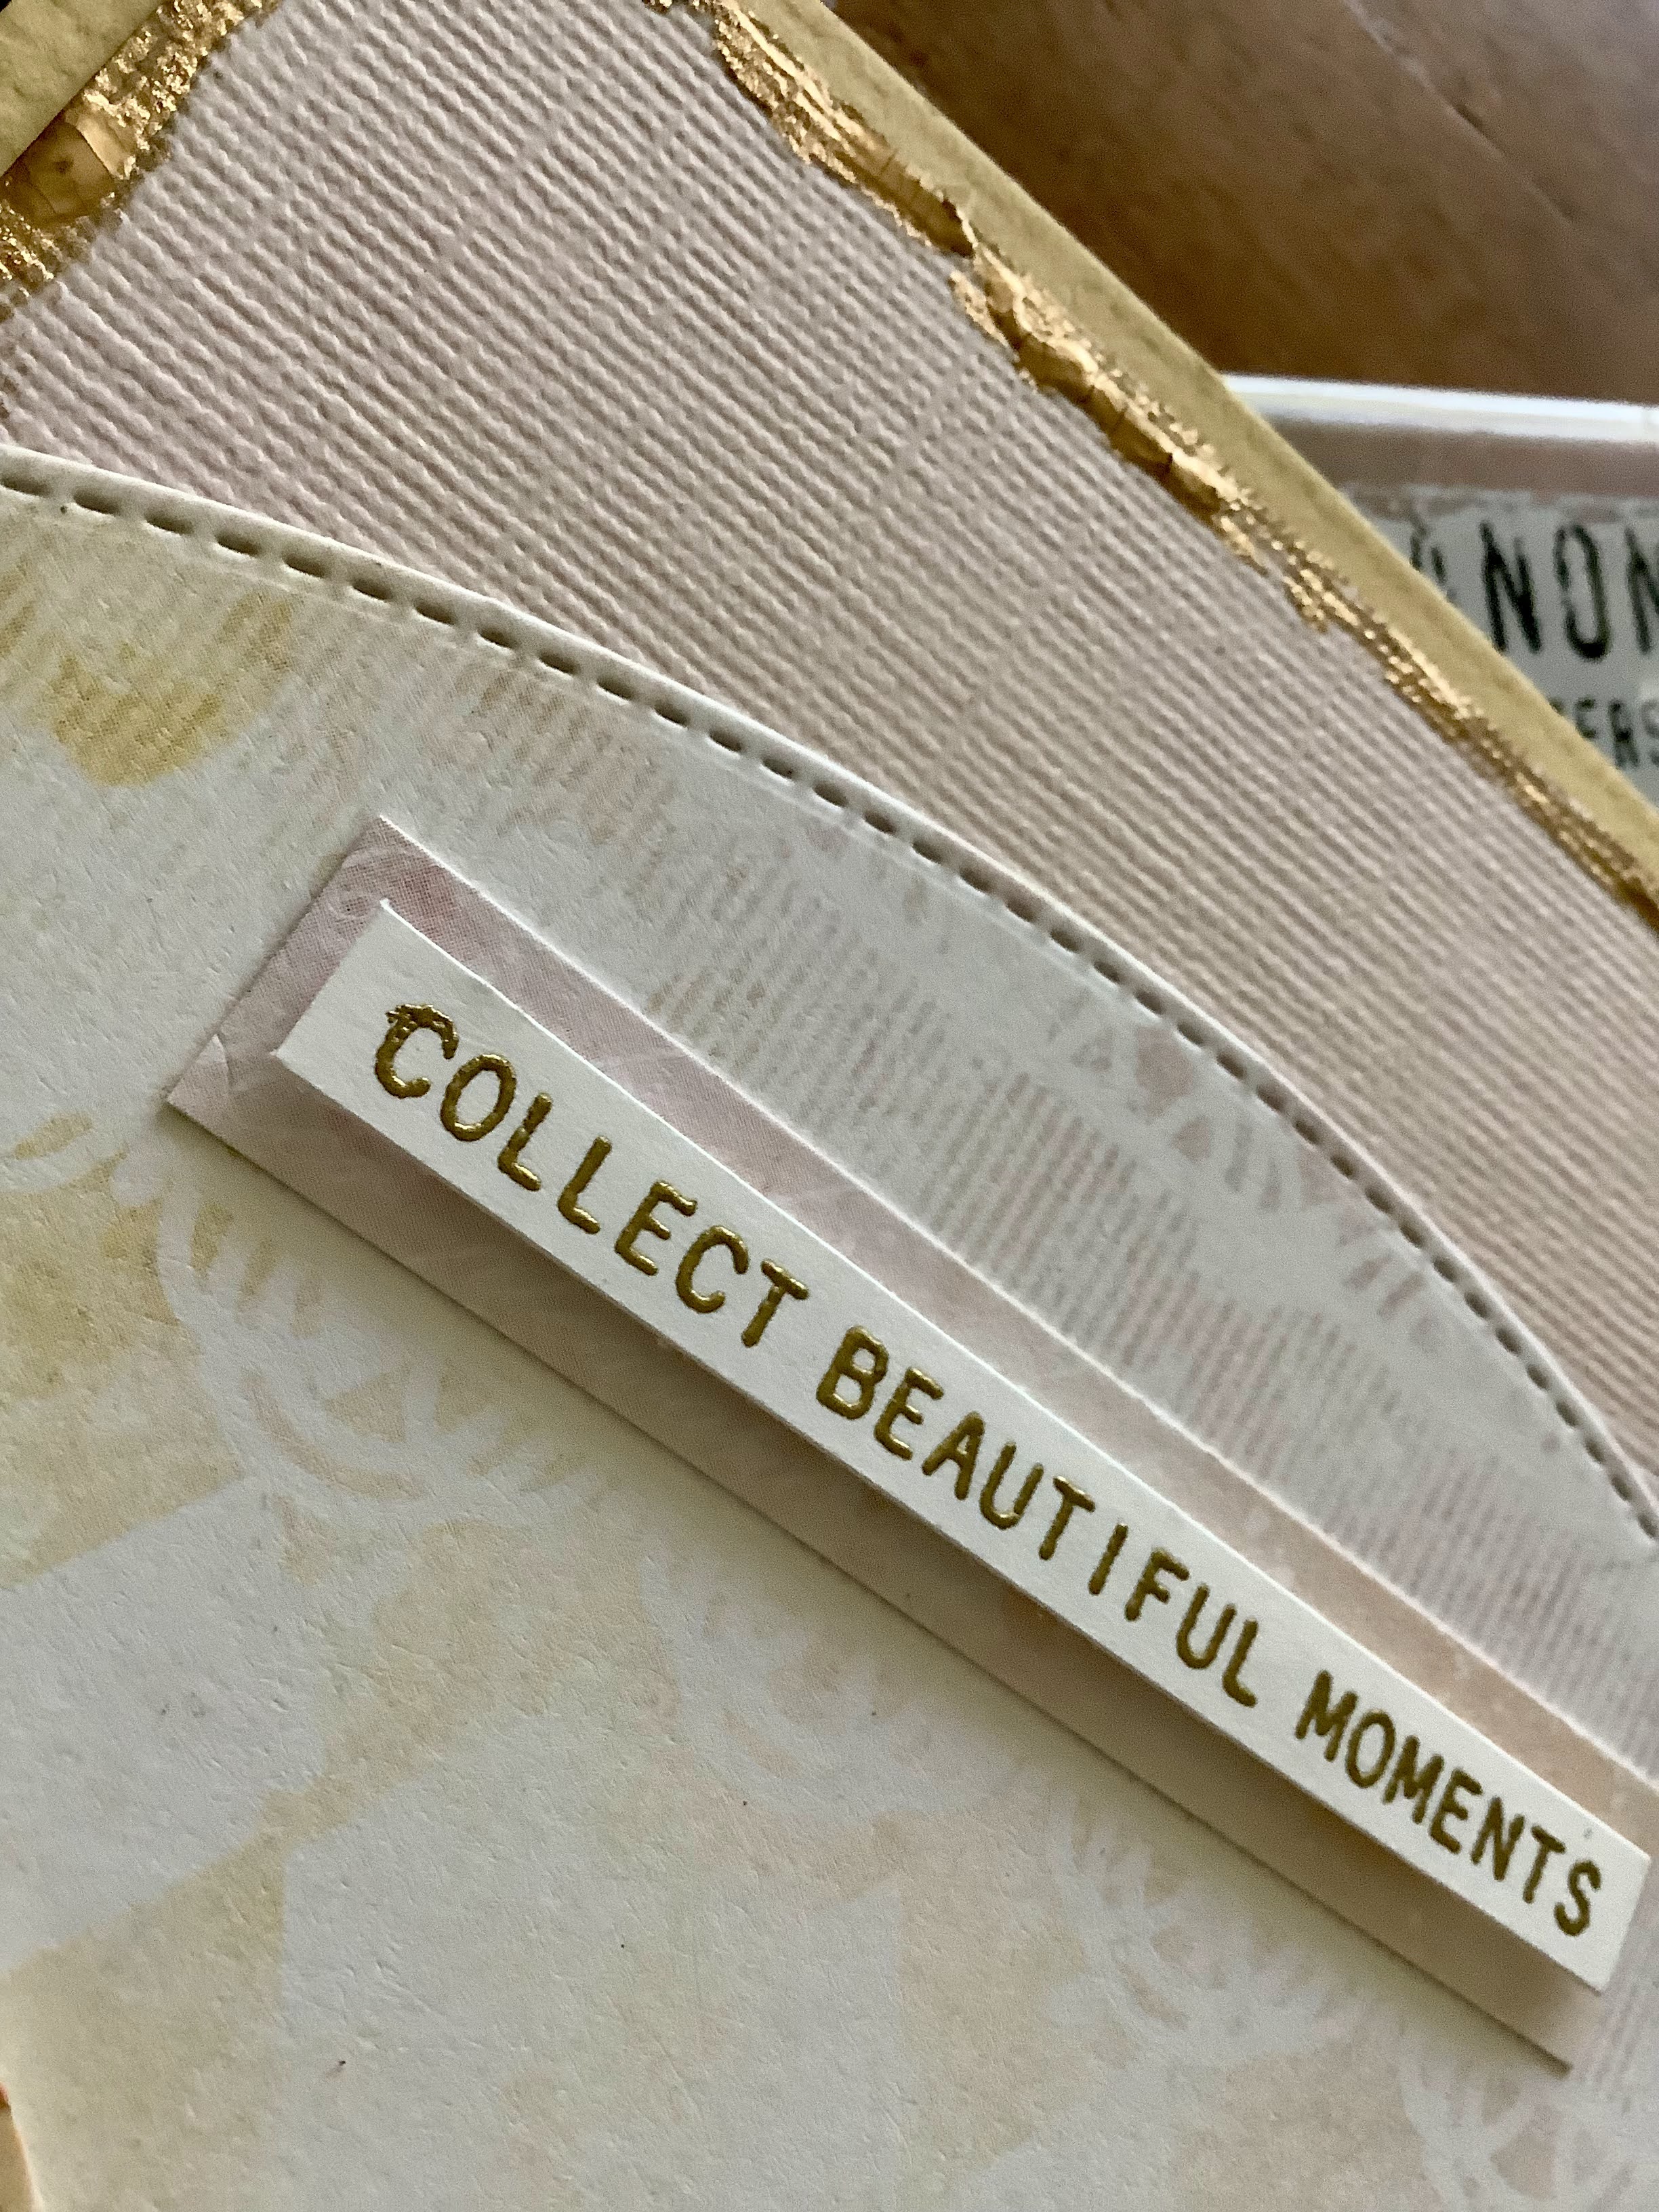
The sentiment was die cut twice and glued together. I added a little white gel pen to the top of the letters.

I added some glue to the tree branches and sprinkled with Distress Rock Candy glitter.

I used Distress snowflake grit paste over top of the snow stencil included with the stamp set.

I added a bit of twine to the bottom of my card and that’s it.

Supplies:
Stamptember 2022 Tim Holtz
Sizzix Bold Text Christmas die set
Distress Snowfall grit paste
Distress Rock Candy glitter
Copics
Twine


Friday, October 14, 2022

Collector of curiosities

 Hi everyone,

Today I have a Halloween make for you. I have to admit this took me many, many hours to make but I must say I am quite pleased with the final result. I fussed a lot with the tiny lights but conquered them. Yeah!!!

Here it is:


I started with a wooden hexagon box that I found at my local craft store. There were 3 different sizes this one being the largest which measures approximately 6” x 7”. Photos of the boxes are at the bottom of my post.


I painted the interior black and also the sides. The front facing edges were painted with orange paint. I added washi tape to the sides of the box. Washi tape was also used in multiple areas on this make.

After the black paint was dry I cut the Skulls embossed piece (which I had made previously) to fit the back of the box. As it didn’t fit across the width of the box I added some black tinsel to each side to cover the empty spots.


I made 2 tiny books from Idea-ology and inked and distressed the edges. Added rub ons to the covers. 


I added mummy cloth which was dyed black but actually came out a greyish colour which I left. I added orange tiny lights behind the glittered pumpkins ( I added rock candy glitter to them) and a bit of greenery on the tops.
I also scattered some mica flakes here and there which were dyed with black alcohol ink. 


I added an Etcetera bat wing piece to which I attached a metal spider. I added a metal plate to the candle stick which was painted with Peeled Paint. The candle was attached with some Distress crypt paste.


The bubbles were coloured with alcohol ink.


I added green tiny lights in the cauldron.


I used a Stamper’s Anonymous Etcetera Bat/Web trim and added some Crypt paste to it.


I added crypt paste to the urn and a bit of artificial grass.


The confections were coloured with alcohol ink


The middle shelf was made with chipboard which I covered with washi tape.
Crypt paste was added to several areas of the finished piece.


Bits and pieces of ephemera were added here and there to the background.


I used an Idea-ology bone cut in half and glued the 2 pieces to the mummy cloth.


The chipboard sentiment was added to the front of my piece. I also added 3 resin flowers that were dyed with alcohol ink.


Below is what I used to create my piece. It came in a set of 3 and I used the larger piece. These are the 2 smaller pieces.


Well that’s it for my labour intensive piece but I am so pleased with it. 
Thanks so much for stopping by 🙏🏻

Supplies:

Tim Holtz Skulls embossing folder 
Tim Holtz Idea-ology Halloween pieces
Tim Holtz Idea-ology Design tape 
Tim Holtz Idea-ology tiny lights - green & orange
Stamper’s Anonymous Etcetera Bat/Web trims & stacking ledges
Distress Crypt paste
Tim Holtz Idea-ology Halloween trimmings
Alcohol inks
Distress paints
Distress Rock Candy glitter


Sunday, October 09, 2022

Merry + Bright

 Hi everyone,

Today I have a Christmas tag to share with you.


I started with a small tag which I added my stencil to and covered it with Distress Snowfall Grit paste. After that was dry I then sprayed it with the new Merrymint Distress Mica spray. I also added a little Distress crayon to each of the snowflakes.


I added that to a larger piece of card stock that I cut slightly larger than my tag. To the edges I added the Snowfall paste to the edges and after dry I sponged Peacock Feathers Distress ink over top.


For the little bits of bead accents I took some mini Prills and added Aqua Alcohol ink to them. Not all of them blended with the ink but that’s ok.


I coloured an Idea-ology mini doll with pencils. The sentiment was layered onto a piece of torn card stock sprayed with Cocktail Party Distress mica spray. I added a tiny clip covered in the Snowfall Grit paste to the sentiment piece.
I also added Cocktail Party crayon to the sentiment.


The embellishment at the bottom right was coloured with the Aqua Alcohol ink too.

I took a piece of ribbon and sprayed it with the new Cocktail Party mica spray and fringed the edges.


Well that’s it for my tag and thanks so much for stopping by 🙏🏻

Supplies:
Stamper’s Anonymous Shifter Snowflake stencil
Tim Holtz Idea-ology Label stickers - Christmas 
Tim Holtz Idea-ology paper dolls 
Tim Holtz Idea-ology tiny clips 
Ranger Grit paste - snowfall
Distress ink
Distress Mica stain spray- Cocktail Party, Merriment
Mini Prills - Minnie Pearls

Wednesday, September 14, 2022

Feeling wicked

 Hi everyone,

As you can see I am still on the Halloween theme. Just can’t get enough. 


I started by creating my background with the Moon mask and Villainous Potion and Black Soot Distress spray stains. The moon middle was inked with Distress ink.

When I was finished the background I added some black stitching around the edges.

The witch was die cut from black foam so I could have some dimension. I die cut the cat from a piece of shrink plastic and added alcohol ink for the colour. 


I die cut the sentiment from black card stock and added a piece of white card stock behind which was sprayed with Iron gate Mica spray.stain.


I inked the edges of a white panel with gold metallic rub on and layered that onto a black panel.

Well that completes my card and thanks so much for stopping by 🙏🏻🎃

Supplies:

Tim Holtz Toil & Trouble die set
Tim Holtz Bold Text Halloween die set
Tim Holtz Moon Mask
Distress spray stain - Villainous Potion, Black Soot
Distress Mica spray - Iron Gate
Shrink plastic 


Saturday, September 10, 2022

Genuine Perfection

 Hi everyone,

Today I have a tag to share using some of the new Halloween Distress Mica Stain sprays.


First I started by spraying my tag with a few colours of the new Mica sprays. When the tag was dry I added a Mosaic stencil with some Distress Grit paste. I added some stamped sentiments and Idea-ology pieces.

The butterfly was die cut and then also sprayed with the Mica sprays.


I added some foliage to the bottom of my tag, a pice of orange sheer ribbon attached at the top with an Idea-ology loop pin.


Well that’s it for tag and thanks so much for stopping by 🙏🏻

Supplies:
Stamper’s Anonymous Mosaic stencil
Stamper’s Anonymous Eccentric stamp set
Idea-ology ephemera 
Idea-ology Metallic sticker book
Tim Holtz Butterfly Impresslits
Tim Holtz Wildflower Stems #2
Distress mica spray stain- Burning Ember, Fortune Teller, Harvest Moon, Tarnished Brass
Distress grit paste 


Friday, September 02, 2022

Something Wicked

 Hi everyone,

After watching Tim Holtz’ live last weekend I got to play with the Moon Mask stencils and some Distress spray  inks.


I started with a Distress #8 tag and using 2 Distress sprays and the Moon Mask I created this tag. It was pretty quick and simple but it does take a bit of practice for me with the ink spraying. The bats are from the new Tim Holtz / Stamper’s Anonymous The Scarecrow stamp set.

I also used a few sprays of the new Decayed Distress Mica Stain. It is such a great colour.

The sentiment was stamped and heat embossed with white embossing powder. I used my finger to add some metallic colour to the edges.

I used some gold metallic card stock and an Impresslits folder for the edging under the sentiment. I die cut 31 from black foam and added some Glossy accents over top.

Well that’s it for this quick tag and thanks so much for stopping by 🙏🏻

Supplies:

Tim Holtz / Stamper’s Anonymous Moon Mask
Tim Holtz / Stamper’s Anonymous The Scarecrow stamp set
Distress Spray Stains - Wilted Violet, Black Soot
Distress Mica Stain - Decayed
Tim Holtz Impresslits Lattice Trim embossing folder 
Tim Holtz Tiny Type Upper dies


Tuesday, August 30, 2022

Mr. Scarecrow

 Hi everyone,

I seem to be stuck on Halloween and Fall themed cards and colours. Today’s card is no exception. I used the new Tim Holtz The Scarecrow stamp set for the background and image.


I started with a piece of Kraft card stock and stamped the corn with dark brown ink and the moon with black ink.
I stamped and coloured the scarecrow with Distress crayons. The pumpkin was die cut and inked with Distress inks.


I added some Distress spray stain to the background and stamped the sentiment also in dark brow ink.

To the top left corner I added some translucent crackle distress paste.

I added a couple of tears to my card and some google eyes for my scarecrow and that’s it for this card.

Thanks so much for stopping by 🙏🏻

Supplies:

Tim Holtz CMS 451 The Scarecrow stamp set
Stamper’s Anonymous Shatter stencil
Sizzix Frightful Things die set
Distress inks and spray
Distress crayons

Tuesday, August 23, 2022

Discover magic

Hi everyone,

It seems that I can’t get enough of Tim Holtz / Sizzix dies for Halloween.  I used. Few different die sets for this card but I especially love the witch from the Toil & Trouble set. 


I started by creating my background by ink blending 3 different colours of Distress inks over my panel. I then added my stencil and added clear embossing paste over top of the stencil. When that was dry When I lightly blended Gathered Twigs Distress ink over top to darken the lines left behind from the stencil.

The gate was die cut from black and purple card stock to which I added Distress glitter here and there on the gates to add a little metallic looking sparkle.


The spider web was die cut from silver metallic paper. To the bones I added a little Distress Rock candy glitter. I added a little alcohol ink to a piece of acetate which was glued behind the cauldron.

The sentiment is from Idea-ology and mounted to black card stock and distressed with Distress ink and a few ink splatters.

I added a couple of shiny black bats and that completes my card.

Thanks so much for stopping by 🙏🏻

Supplies:

Tim Holtz / Sizzix dies - Toil & Trouble, Frightful Things, Gate Keeper
Stamper’s Anonymous Decayed stencil
Stamper’s Anonymous Bubbles stamp
Idea-ology Chitchat stickers 
Distress Oxide inks - Spiced Marmalade, Twisted Citron, Villainous Potion 
Distress ink - Gathered Twigs 
Stickles Silver 

Tuesday, August 16, 2022

Trick or treat

Hi everyone,

I just received some of the new Tim Holtz Halloween products and couldn’t wait to use the new Mica Spray stains.


I started by creating my background on a piece of orange card stock to which I added the stencil background with Translucent crackle paste.
When that was dry I sprayed it with some Black Soot spray and blended in with a little water. That way some of the ink was blended into the pumpkin veins if that’s what you call them


Next I die cut the Halloween figures with white card stock and added my and sprayed on some Mica spray colours.
When dry I stamped the piece with the Bubbles stamp and some black ink.


I sprayed another piece of card stock with the sprays and die cut the sentiment. I die cut the sentiment again this time with black card stock, cut it to size and then inlaid the letters back into the empty spots.


I adhered both the sentiment and the Halloween figures directly to my card base. The card panel was also distressed on the edges.

I added some black ink to my card and embossed with clear embossing powder.

I die cut a couple of bats and added them to my card.

Well that’s it for my card and thanks so much for stopping by 🙏🏻

Supplies:
Tim Holtz Pumpkins Layering stencil
Tim Holtz Vault Series: Halloween 2021
Tim Holtz Bold Text Halloween dies
Tim Holtz Bubbles stamp
Distress Halloween Mica stain sets #3 and #4


Wednesday, August 10, 2022

Blessed are the curious

 Hi everyone,

While I’m waiting for my new Tim Holtz products to arrive from his newest release I decided to use some other Halloween dies I had. 


I started by spraying a piece of wood grain card stock with Black Soot spray stain. I waited for that to dry then sprayed over it with Tarnished Brass mica spray. I added a nice glimmer effect to my panel.

I die cut all my pieces from the same die set -Vault Series: Halloween 2021. All the pieces were cut from card stock and I embossed the bird and heat set with Black Diamond embossing powder.


The fence was die cut from silver metallic card stock and sprayed with the Tarnished Brass mica spray.
The sentiment was stamped using a sentiment from the Stamper’s Anonymous Tiny Text stamp set.


I roughed up the edges of my card with a Tim Holtz sander and added foil washi tape to the edges. Added a little grass at the bottom and this card is done.

Well that’s it for my card and thanks so much for stopping by 🙏🏻

Supplies:

Tim Holtz Vault Series: Halloween 2021
Stamper’s Anonymous Tiny Text CMS394
Distress Black Soot spray stain 
Distress Tarnished Brass Mica spray


Wednesday, July 27, 2022

Live your dream

 Hi everyone,

Well the beautiful hot weather keeps on giving. I usually go for a nice long power walk early every morning and I am surprised that I haven’t seen too many butterflies. Anyways here’s one that I can share with you.


I used a crackle 3D embossing folder for my background piece which I distressed a bit and blended some Distress ink over top.

I stamped a piece of card using a Hero Arts Newspaper background stamp. I then ran this piece through my die cutting machine to cut out my butterfly. I applied Distress ink colours on my craft mat and added a little water and ran the butterfly through the inks.

I added Foundry Wax to the edges of my butterfly, stamped the sentiment and added a bronze eyelet and a piece of jute cord.


Well that’s it for my card and thanks so much for stopping by 🙏🏻

Supplies:
Tim Holtz Crackle 3D embossing folder 
Tim Holtz Butterfly 3D Impresslits 
Stamper’s Anonymous Perspective stamp set
Hero Arts Newspaper Background stamp
Ranger Foundry Wax - Statue
Speckled Egg Distress ink


Saturday, July 09, 2022

Collect beautiful moments

 Hi everyone,


Today’s card is for a bridal shower for my daughter in law to be. I thought the Doily embossing folder from Tim Holtz was perfect for the occasion.

The shower is actually a Boho picnic in the middle of lavender fields and the weather is supposed to be gorgeous.


The double arches and the stitched arch were all cut from a stitched die and patterned paper.
I blended a little Saltwater Taffy Oxide ink to the edges of the doily piece. 

I stamped the heart which is actually from an Easter stamp set with Saltwater Taffy Oxide ink and added some Distress Foundry wax to the edges of the heart and also along the top edges of the card.


The sentiment was stamped with clear embossing ink and heat set with gold embossing powder.

Well that’s it for my card and thanks so much for stopping by 🙏🏻

Supplies:
Tim Holtz 3D Texture Fades Doily embossing folder
Stamper’s Anonymous Spring Shadows stamp set
Stamper’s Anonymous Tiny Text stamp set
Distress Statue Foundry Wax
Distress Oxide ink - Saltwater Taffy 
Patterned paper

Wednesday, July 06, 2022

The Journey is the Destination

Hi everyone,

Today I have a card to share that is for the theme of Red, White and Blue on the Simon Says Stamp blog Monday challenge. Details can be found here


I started by applying my stencil to a white piece of card stock. I ink blended 3 different colours of Distress oxide inks over the stencil. The darkest is the new Uncharted Mariner ink which is such a gorgeous colour. When dry I added some translucent crackle paste over some of the pattern.


I blended some red ink to the outer edges of my panel and then stitched over the edges with red thread.

The sentiment was stamped in black ink and Uncharted Mariner Distress oxide ink was blended over the edges.

I coloured 3 Idea-ology mirrored stars with Red Pepper alcohol ink.

The sentiment was added with foam tape and the stars were glued down directly.

Well that’s it for my card today and thanks so much for stopping by 🙏🏻

Supplies:
Tim Holtz / Stamper’s Anonymous Mosaic stencil
Tim Holtz / Stamper’s Anonymous Tiny Text stamp set
Tim Holtz Idea-ology Mirrored Stars
Distress Oxide inks - Uncharted Mariner, Salvaged Patina and Tumbled Glass
Tim Holtz Translucent crackle paste
Alcohol ink - Red Pepper